Configuring Cloudflare Mirage
Overview
Mirage image optimization is currently available for Pro, Business, and Enterprise level domains.
It accelerates image loading by:
- Automatically resizing images using JavaScript (by analyzing visitor connection and device type)
- Virtualizing images, so visitors on poor connections get a smaller version at a lower resolution until they can access a higher bandwidth connection
- Streamlining image requests, so visitors can see optimized images immediately
- Acting as a lazy loader, turning all images into load on demand
Read our blog post for more information on Mirage.
Image formats compatible with Mirage
Mirage will work with the following image formats:
- *.jpg
- *.jpeg
- *.png
- *.gif
- *.img
Enable Mirage
To enable Mirage image optimization for your domain,
- Log in to the Cloudflare dashboard.
- Select your account and zone.
- Go to Speed > Optimization > Image Optimization.
- For Mirage, switch the toggle to On.
Once enabled Mirage will be active on the entire website.
Test Mirage
Mirage’s features for Mobile Browser optimization are triggered based on high latency and poor network connections. You can test Mirage by making a request to your domain using a mobile user-agent string and one of the following flags with your domain in your mobile browser:
EXAMPLE.COM/?forcepreload
To run the pre-loader only and serve degraded images on the page enter:
EXAMPLE.COM/?forcepreloadonly
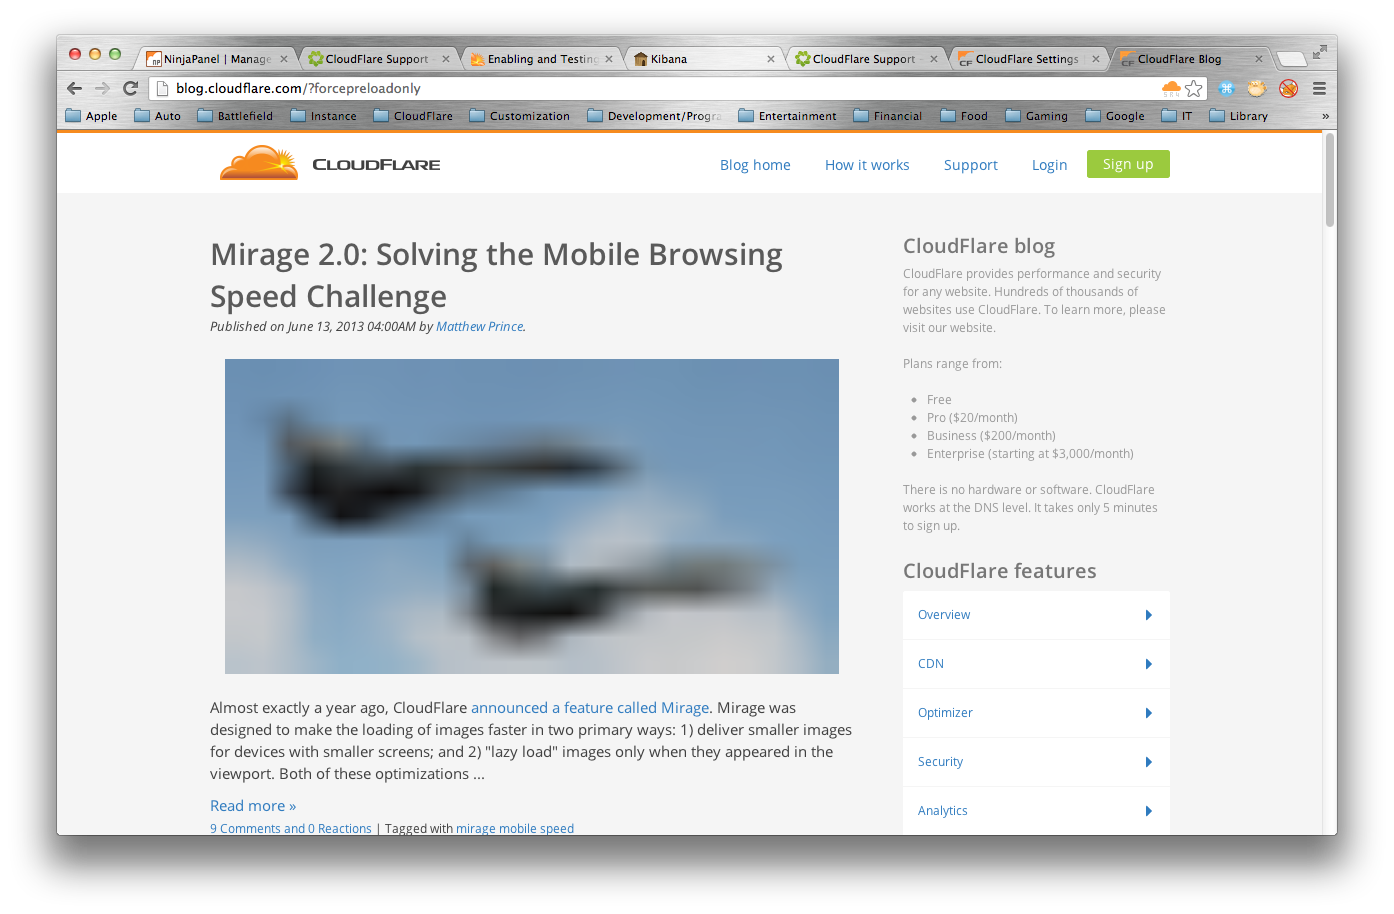
Here is an example where Mirage 2 is triggered by a ?forcepreloadonly flag. The notable image degradation is a sign that Mirage is working: